Hi everyone! I’m so excited today because it’s Winnie & Walter’s fifth birthday! We are celebrating with tons of prizes and challenges, and I hope you’ll join us this year, too.
My challenge is layering die-cuts. Whether it’s word dies, cover plate dies or stand alone dies, you can always find new ways to use them creatively. So I encourage you stretch the use of your dies and layer them!
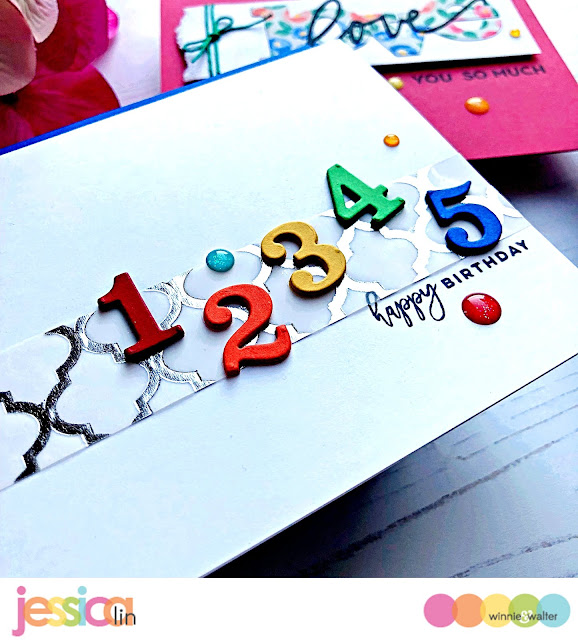
I have two cards to share with you today; the first one features the number dies from Typecast: Cary Number Cutaways set, and the second one uses the In a Word: Love Coordinating Cutaways set.
For this CAS rainbow card, I decided to die cut the numbers from Stampin’ Up’s cardstock. The colors I used are Merry Merlot, Tangerine Tango, Hello Honey, Cucumber Crush, and Blueberry Bushel.
I die cut 5 of each number (because it’s W&W's 5th birthday!) and adhered them together with On-Point glue. This makes the numbers dimensional and almost look like chipboard pieces.
Then I adhered a strip of silver vellum paper to my card base, added some enamel dots, and the card is complete!
The second card features one of my favorite product lines from Winnie & Walter: the In a Word series! I love these dies so much, and they are actually what captured my heart when I first saw Winnie & Walter. I was inspired by one of Lydia’s cards from a previous release and decided to layer these two love word dies to create this fun look. You can also use In a Word: Happy Coordinating Cutaways, In a Word: Thanks Coordinating Cutaways, and In a Word: Merry Coordinating Cutaways to create similar effects.
I hope you enjoyed today’s easy tips on layering die cuts. If you would like to learn 3 more techniques about die cut layering, be sure to come back for my next post/video. Thanks so much for stopping by, and I’ll see you very soon.


