Showing posts with label Embossed Background. Show all posts

February 24, 2017

Love You Deerly ft. Poppystamps


Hello! I've seen so many lovely Valentines card on blogland lately and, not surprisingly, the majority of them are pink and red and filled with lots of hearts. So I thought about making something a little different. Today I'd like to share with you a not-so-pink-and-girly Valentines card.


This adorable deer image is from Poppy Stamp's Holiday Hoopla set, which I colored with my Zig brush pens. (Body: 64, 61, 72, 69. Blush: 29. Scarf: 27, 31) Then I used Memory Box's Cross Stitch My Heart dies to create a window for the small scene. The "I Love You" sentiment is from My Favorite Thing's Essential Sentiments set, and I wrote the bottom "Deerly" sentiment myself. 


I created the woodland scene by first embossing a watercolor cardstock with Stampin' Up's Woodland Textures embossing folder, and then coloring it with my Zigs brush pens. (Trees: 75, 96. Background: 34, 22) It's hard to tell from the photos, but the embossed details are actually quite amazing in real life. I hope you have enjoyed my not so traditional Valentines Day card. Thanks so much for stopping by and have a great day!

Challenges Entered: 

Poppy: Hearts Aflutter / Memory Box: It's All About Love / Addicted to CAS: Wood

HLS CAS: Blue / HLS Watercolor: ATG (Dies) / AAA Cards: Watercolor

MTF Color Challenge #64 / Paru's Challenges: Love / SSS Wednesday: ATG

November 30, 2016

Embellished Christmas Tree ft. Hero Arts


EDIT: Top 3 at a2zScrapbook

Since it's finals week next week, I didn't make many cards during the holidays except for the ones I guest designed for. However I really wanted to enter a2z Scrapbook's challenge because this month's theme is "Embellish it", and I love adding embellishments to my cards. I decided to make the embellishments the focal point so I picked Hero Art's Merry Christmas Tree stamp and die set. 


I used a good amount of pearls, gems, sequins and stamped die cuts to decorate this christmas tree. The gems are originally clear (like the ones on the right side of the photo), but I colored some with my Copic marker (R37 Carmine) to match the red color scheme.


I also added a coat of glossy accent to all of the stamped die cuts so they would look like embellishments, too. Then I mounted them on foam squares and adhered them to the tree. 


I also embossed the white card base for some additional interest. It looks more dimensional in real life, I just can't capture the details in the photos. 

I just received the SHOTBOX today and this is the first card I photographed inside this light box. To be honest I'm a little disappointed with the results; the lighting environment isn't what I've expected and I still have to tweak the photos afterwards. I think the lights is a little too sharp and cool and I was looking for the effect of warm, natural light. Maybe I just need to practice using it more and figure out the right way...If you have any experience with light boxes or would like to share how you photograph your projects, please comment below. I would really appreciate it! And thanks so much for stopping by!

Challenges Entered:

a2z Scrapbook: Embellish It / SSS Wednesday: ATG / SSS Monday: O' Christmas Tree

MFT Color Challenge #58

November 18, 2016

DIY Plaid Pattern with Washi Tape

Hi there! Today I'm sharing a card inspired by Virginia's Stripes and Plaid challenge. Virginia is, in my opinion, one of the most talented crafters on blogland and she certainly inspires me to challenge myself when I'm crafting. So this time, instead of creating a stripe/plaid background using stamps, I decided to go with washi tape. 

I picked some vibrant, neon colored washi tape and arranged them diagonally. 


Then I embossed the entire panel with a diamond pattern embossing folder. I decided to use the heart die from Memory Box to create a window for my sentiment. After stamping the sentiment from Simon Says Stamp's Big Scripty Greetings set, I felt like it needed some sort of border to help draw one's attention to the focal point. I didn't have a heart outline stamp, so I came up with the idea of tracing the inside of my die with a black gel pen. I gotta say, the thickness of the lines and dimensional look is just perfect!


I then lift up the die, which revealed an awkward, large gap of white space. To be honest, I panicked a little because I'm not sure if I can hand-trace along the lines to make the outlines even thicker. (gel pens are hard to control; if you exert too much pressure it's going to ooze out a lot of ink. And a blob of blackness is a big no-no) Thankfully I had an a-ha moment and decided to add stitched lines outside the borders. 


I've also written some words below the stamped sentiment to tie it to the colorful background. I like to customize my sentiments a lot of times to make them fit the card themes better. To finish off the card, I colored this little bird from Lawn Fawn's Snow Day set and adhered him to the upper right corner of the heart.


I hope you have enjoyed my creation, and are inspired to use your washi tape in different ways. Thanks so much for stopping by!

Challenges Entered:

Virginia's View #25: Stripes and Plaid / Memory Box: Giving Thanks / STAMPlorations: Giving Thanks

Creative with Stamps: Use a Bird Stamp / SSS Work it Wednesday: Use SSS Product

June 20, 2016

Hedgie Birthdays ft Penny Black


EDIT: Top Pick at STAMPlorations / Favorite at Penny Black
 
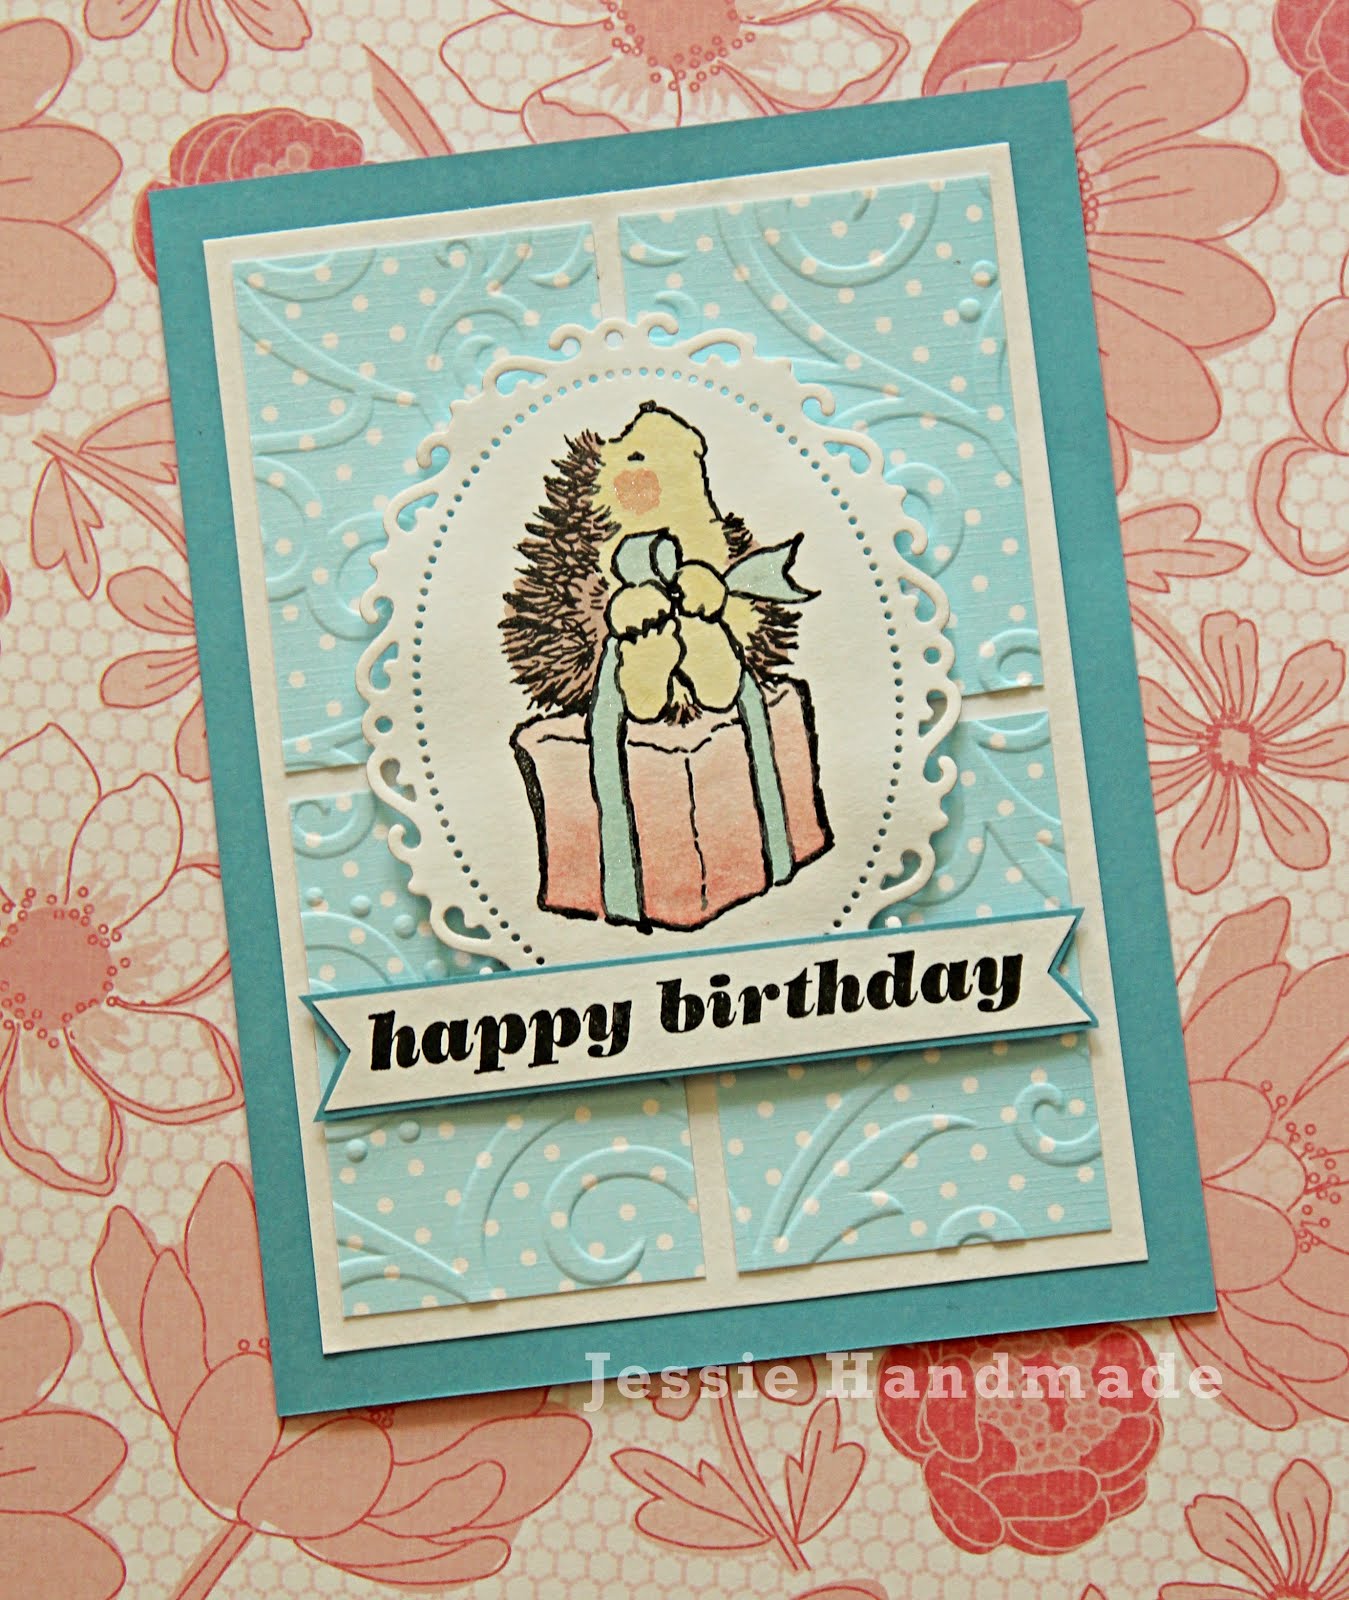
I love love love this Party Time hedgies set from Penny Black. They are one of my very first photopolymer stamp sets, and still one of my favorites, too! I thought it's the perfect occasion to make some more birthday cards to celebrate Penny Black's 8th birthday. So here they are!

I did some simple watercoloring and paired the image with the embossed background. I like how the ombre present's hue matches with the hedgie's blush. How cute!

I also added some wink of stella to the ribbon and his blush. It's hard to see in the photo, but this little shimmer does make a difference!

This is another card using the same card sketch. Oh and I remembered to emboss the die cut this time. :P

I'm really pleased with how this one turned out. Love how the hedgie is in the center of the sun and beaming with joy. Aww it just makes my heart melt (no pun intended). I think the sentiment is pretty playful and matches this card perfectly.

Hope you enjoyed these cards! I'd love it if you comment below and tell me which one's your favorite! Thanks for stopping by :)

Challenges Entered:
 

June 17, 2016

Non-Girly Butterfly Card

Who says butterfly cards have to be pink and girly? This one clearly isn't! This is my CASE of one of the DT cards (shown below). It's a unique take on MFT Sketch Challenge 285, and I love how it turned out! 

The colors are inspired by MFT Color Challenge 47. I didn't actually have navy blue and olive green cardstock on hand, (so glad I received this coral cardstock today in the mail!), so I made some by inking some pigment ink onto Neenah Solar White paper. The embossing folder I used is new from Stampin' Up. It's called Sparkle. 


Challenges Entered: 

 
Powered by Blogger.