Showing posts with label Stencil. Show all posts

July 22, 2017

Winnie & Walter July Leading Lady: Christmas in July


Hello and welcome! I am back with another Leading Lady project and I'm so excited to share this one with you! Most of the cards I send out are birthday and Christmas cards. Although I definitely send out more Christmas cards because I'm not that good at remembering other people's birthdays... (who else relies on Facebook reminders?!?) Anyways, I'm glad to start working on my Christmas card stash early this year. I really enjoyed creating this card, and I hope it will inspire you, too! 


I started off by creating the night sky background. I used the Essentials: Lana Cutaways to die cut the background panel from watercolor cardstock. Next I sponged and smooshed Stormy Sky, Evergreen Bough, Dusty Concord, Chipped Sapphire distress inks. I also added a touch of Black Soot to the borders for some contrast. To add more interest to the background, I spritzed some water droplets to create the faded look. Then I stenciled white embossing paste over the Scenery: Big Bang Circle Creative Screenings. I also applied a thin coat of embossing paste to bottom portion of the panel to keep my critters grounded, and that completes the falling snow scene. 


I then watercolored these adorable images from Season's Tweetings with Evelin T. Designs with ZIG clean color real brush markers, and die cut them out with their coordinating dies. 


Finally, I gold heat embossed "warm winter wishes" on vellum for the sentiment banner. I decided to add "sending you" from Sentimental: Love stamp set as well because I think it ties back to the postage stamp shaped background. #happymail :)


Giveaway: 
Shay has generously provided me with a $30 gift certificate that I can giveaway. If you enjoyed this card, please comment on both W&W and my blog for a chance to win! I will be posting for the remaining Saturdays of this month, so if you comment on each post you will have 4 chances to win this wonderful prize. That is all from me today. I hope you will join me next Saturday but until then, have a wonderful week!


Challenges Entered:
    

February 8, 2017

You're My Forever Love ft. STAMPlorations


Hello and welcome! Today's the first day of our Love TAGplorations blog hop over at STAMPlorations! Simply leave a comment along the blogs you visited or join our linky party for a chance to win prizes!

 I love using word dies on my cards and so I decided to make them the focal point of today's card. For the background, I used the Forever word die and die cut it repetitively until it has filled the entire card panel. 

Then I carefully transfer and piece the die cuts together on a sheet of adhesive, so that none of the little pieces will fall apart. (As you can see, I ended up creating a black background for my card, but the process is the same as the one shown here.)


I decorated my tag by applying a thin coat of texture paste over the Zen Hearts stencil. Once it is dry, I applied Spun Sugar, Worn Lipstick, and Festive Berries distress inks for the ombre look and spritzed some pearlized water for some shimmer and shine. The love die cut I used here is from the Peace Love Joy word die, but it would probably be more convenient to use the newly released Love word die. I've partially embossed my word die cuts with silver embossing powder so they match the ribbon I tied on the tag. I then stamped "you're my" from the Fond Expressions 2 set on a strip of black cardstock to complete my sentiment.


Finally, I embellished the card with some sequins and that finishes off the card! I hope you have enjoyed looking at my creation and are inspired to join our linky party. Thanks for stopping by!


Challenges Entered:


June 20, 2016

Hedgie Birthdays ft Penny Black


EDIT: Top Pick at STAMPlorations / Favorite at Penny Black
 
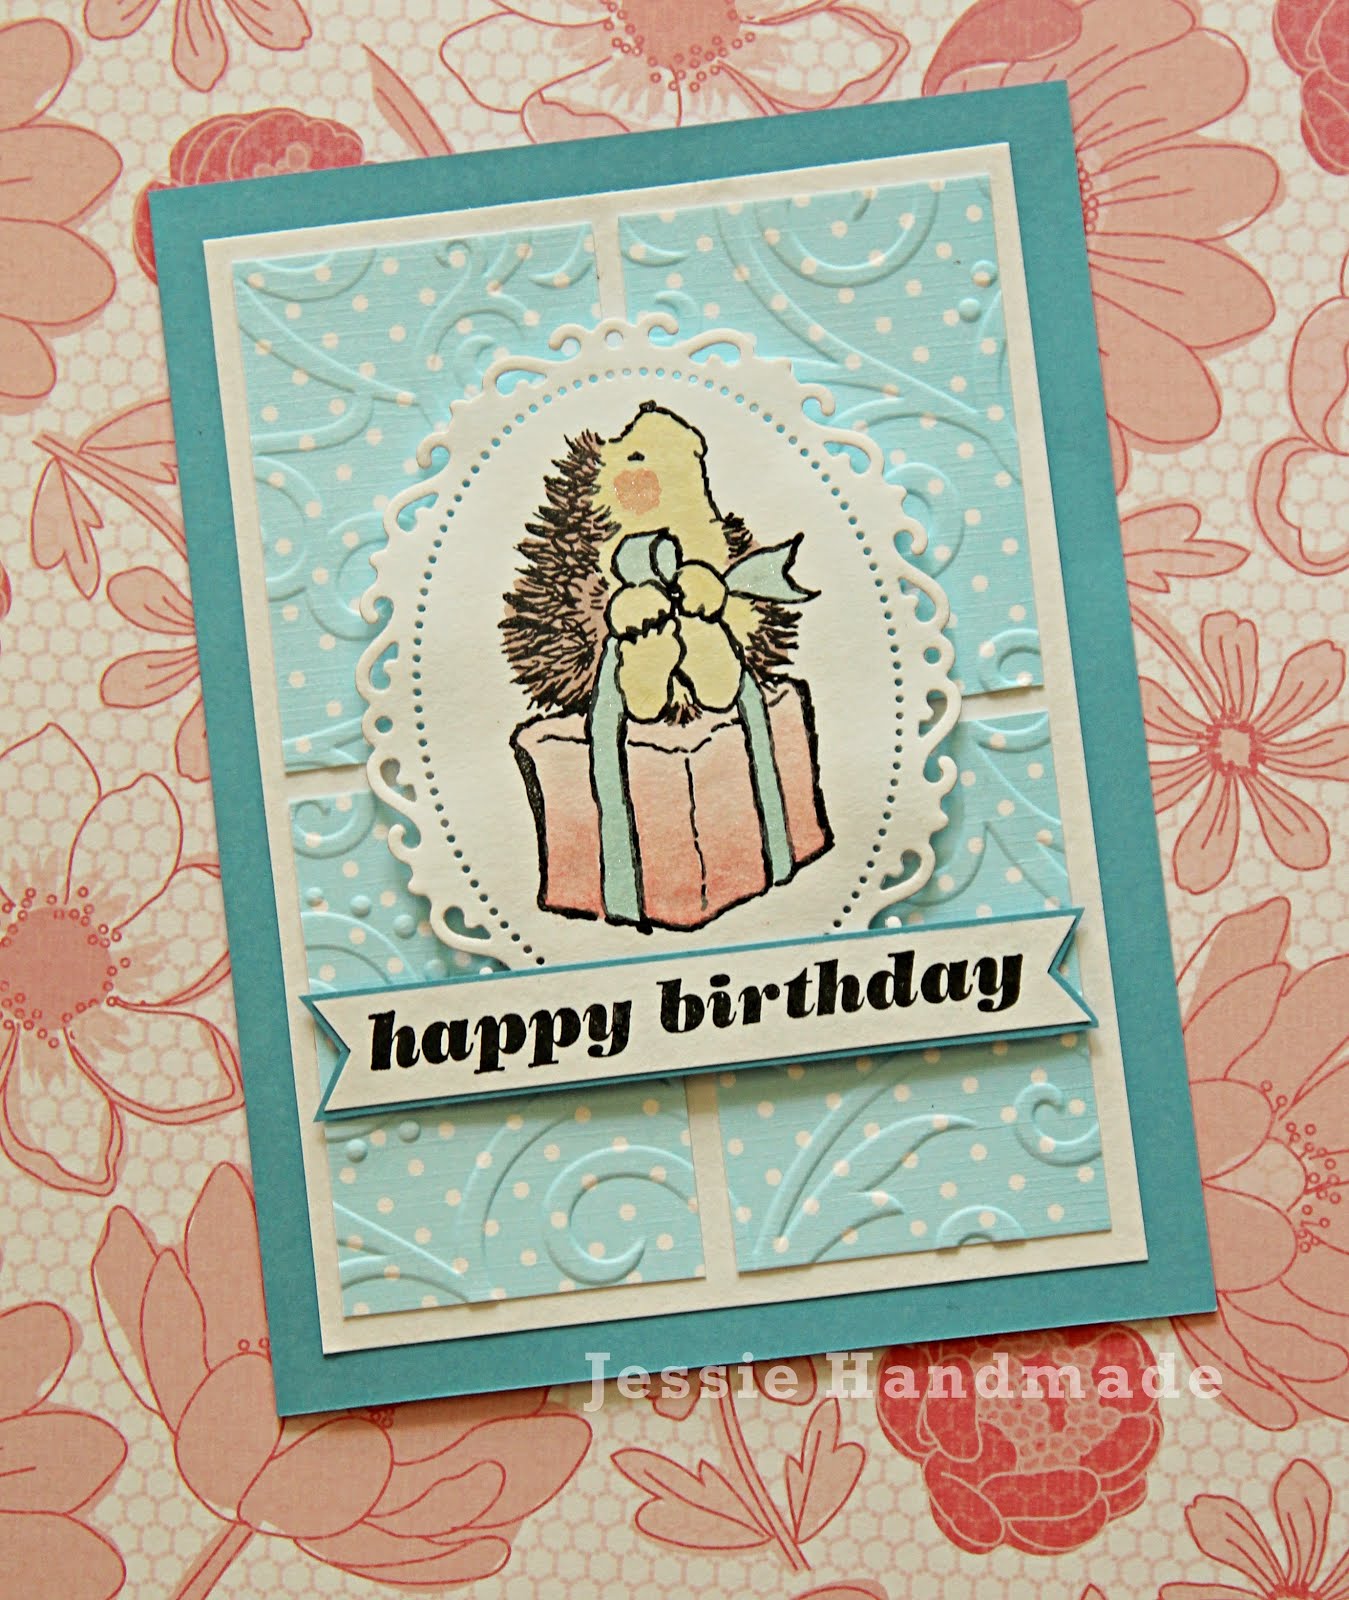
I love love love this Party Time hedgies set from Penny Black. They are one of my very first photopolymer stamp sets, and still one of my favorites, too! I thought it's the perfect occasion to make some more birthday cards to celebrate Penny Black's 8th birthday. So here they are!

I did some simple watercoloring and paired the image with the embossed background. I like how the ombre present's hue matches with the hedgie's blush. How cute!

I also added some wink of stella to the ribbon and his blush. It's hard to see in the photo, but this little shimmer does make a difference!

This is another card using the same card sketch. Oh and I remembered to emboss the die cut this time. :P

I'm really pleased with how this one turned out. Love how the hedgie is in the center of the sun and beaming with joy. Aww it just makes my heart melt (no pun intended). I think the sentiment is pretty playful and matches this card perfectly.

Hope you enjoyed these cards! I'd love it if you comment below and tell me which one's your favorite! Thanks for stopping by :)

Challenges Entered:
 

June 19, 2016

CAS One Layer Stencil Card


EDIT: Winner and Top 3 at the Craftin Desert Divas & STAMPlorations
  
This is another one layer CAS card created with a stencil and some distress inks. It actually took a lot longer than I expected to finish this card. Read on...


Since this stencil doesn't have a consecutive pattern (like this one) and the flowers are quite far apart, I felt like it needed a border. But I didn't want to trim it down and mount it on a black panel, as I was going for the one layer card. So I did it the hard way, which is masking thin areas and inking them up with black distress ink. 

It took me quite a while to position all the masking tape right, and after inking just one side, I got ink all over the masking tape and my fingers! I went slower and was extra careful when I repositioned these masks, but I still got some small splotches of ink/fingerprints here and there on the card. Ugh. Nothing I couldn't save with my white gel pen, but it still bugs me. Next time I'll just use my copic-multiliner. Sighs... Learned a lesson, though!


Again, I wanted to keep the focal point of the card on the stenciled pattern,  so I only added this simple sentiment banner. I only adhered the left side of the banner, and left the rest hanging. Felt like the half floating sentiment added some more interest. Hope you like this modern, simple card!

Challenged Entered: 
  
CAS(E) this Sketch #176 / SPDMIX03 / Craftin Desert Divas: Red, White & Blue


STAMPlorations: Anything CAS Goes

June 16, 2016

CAS One Layer Card: Gradient Colors with Stencil

EDIT: Honorable Mention at CAS(E) this Sketch
I really enjoyed this challenge from CASE(E) this Sketch. This week's sketch is super simple: not a lot of shapes or stripes, just one big panel. I decided to use a stencil, some distress inks and the masking technique to create this simple yet stunning gradient pattern. Love how it turned out!


To keep the card CAS, I heat embossed the sentiment onto a strip of black cardstock and cut a fishtail to turn it into a banner. Then to complete the sketch, I added some faux stitched lines with a white gel pen. Something not too distracting as I wanted to keep the focus of the card on the distressed pattern. I loved this look so much I went ahead and created another card. Check the next post to see what I did! 

Challenges Entered: 
 
CAS(E) this Sketch #176 / YNS Challenge #41

 
Rubber Dance June  / STAMPlorations June


Powered by Blogger.