Showing posts with label Minimal Stamping. Show all posts

February 8, 2017

You're My Forever Love ft. STAMPlorations


Hello and welcome! Today's the first day of our Love TAGplorations blog hop over at STAMPlorations! Simply leave a comment along the blogs you visited or join our linky party for a chance to win prizes!

 I love using word dies on my cards and so I decided to make them the focal point of today's card. For the background, I used the Forever word die and die cut it repetitively until it has filled the entire card panel. 

Then I carefully transfer and piece the die cuts together on a sheet of adhesive, so that none of the little pieces will fall apart. (As you can see, I ended up creating a black background for my card, but the process is the same as the one shown here.)


I decorated my tag by applying a thin coat of texture paste over the Zen Hearts stencil. Once it is dry, I applied Spun Sugar, Worn Lipstick, and Festive Berries distress inks for the ombre look and spritzed some pearlized water for some shimmer and shine. The love die cut I used here is from the Peace Love Joy word die, but it would probably be more convenient to use the newly released Love word die. I've partially embossed my word die cuts with silver embossing powder so they match the ribbon I tied on the tag. I then stamped "you're my" from the Fond Expressions 2 set on a strip of black cardstock to complete my sentiment.


Finally, I embellished the card with some sequins and that finishes off the card! I hope you have enjoyed looking at my creation and are inspired to join our linky party. Thanks for stopping by!


Challenges Entered:


June 17, 2016

Non-Girly Butterfly Card

Who says butterfly cards have to be pink and girly? This one clearly isn't! This is my CASE of one of the DT cards (shown below). It's a unique take on MFT Sketch Challenge 285, and I love how it turned out! 

The colors are inspired by MFT Color Challenge 47. I didn't actually have navy blue and olive green cardstock on hand, (so glad I received this coral cardstock today in the mail!), so I made some by inking some pigment ink onto Neenah Solar White paper. The embossing folder I used is new from Stampin' Up. It's called Sparkle. 


Challenges Entered: 


April 24, 2016

Butterfly Card with Tim Holtz Distress Glitter (Black Background)

When I created this glitter butterfly, I couldn't decide which background, black or white, looks better with it. So I ended up making both. ;) View this post if you haven't seen the white background one yet! It also includes a step-by-step tutorial on how to make this glitter butterfly shown below. 

DIY A Temporary Foam Stamp and Create the Background 
I wanted to create a diagonal stripe pattern but I don't have any stripe stamps on hand. So I decided to use a trick I learned from Jennifer McGuire. 
1. Cut a thin piece of white fun foam and use a stamp runner to temporarily adhere it to an acrylic block. (I used my mini MISTI here for easier alignment)
2. Ink it up like you normally would with a clear stamp, and stamp the pattern on an A2 white card base. (It's that easy)
 
(Click on the image to enlarge)

3. I'm not sure if it's a result of my new juicy ink pad or the fun foam, but the edges are a little fuzzy. So I used my 0.35 Copic Multiliner to trace the edges. 
4. Mat a piece of black card stock on top of the card base.
  

5. Stamp the sentiment from Simon Says Stamp's Big Scripty Greetings with Versa Mark ink and heat emboss with silver embossing powder.
6. Tie the ends of a long piece of silver thread and make it into three loops. Arrange the loops and place the knot near the center of card so you can hide it under the butterfly's body. Adhere some parts of the loop to the card with mini glue dots. 
  

7. Stick a mini heart button to the butterfly's body, and adhere the butterfly to the card. That'll finish up this card!
I really can't pick a favorite. Which one do you like better? The white background one or the black background one? I would love to hear your comments! :)

Challenges entered: 
  

SSS Butterfly Beauty / SSS Make It Girlie / Happy Little Stampers MM Wings


April 23, 2016

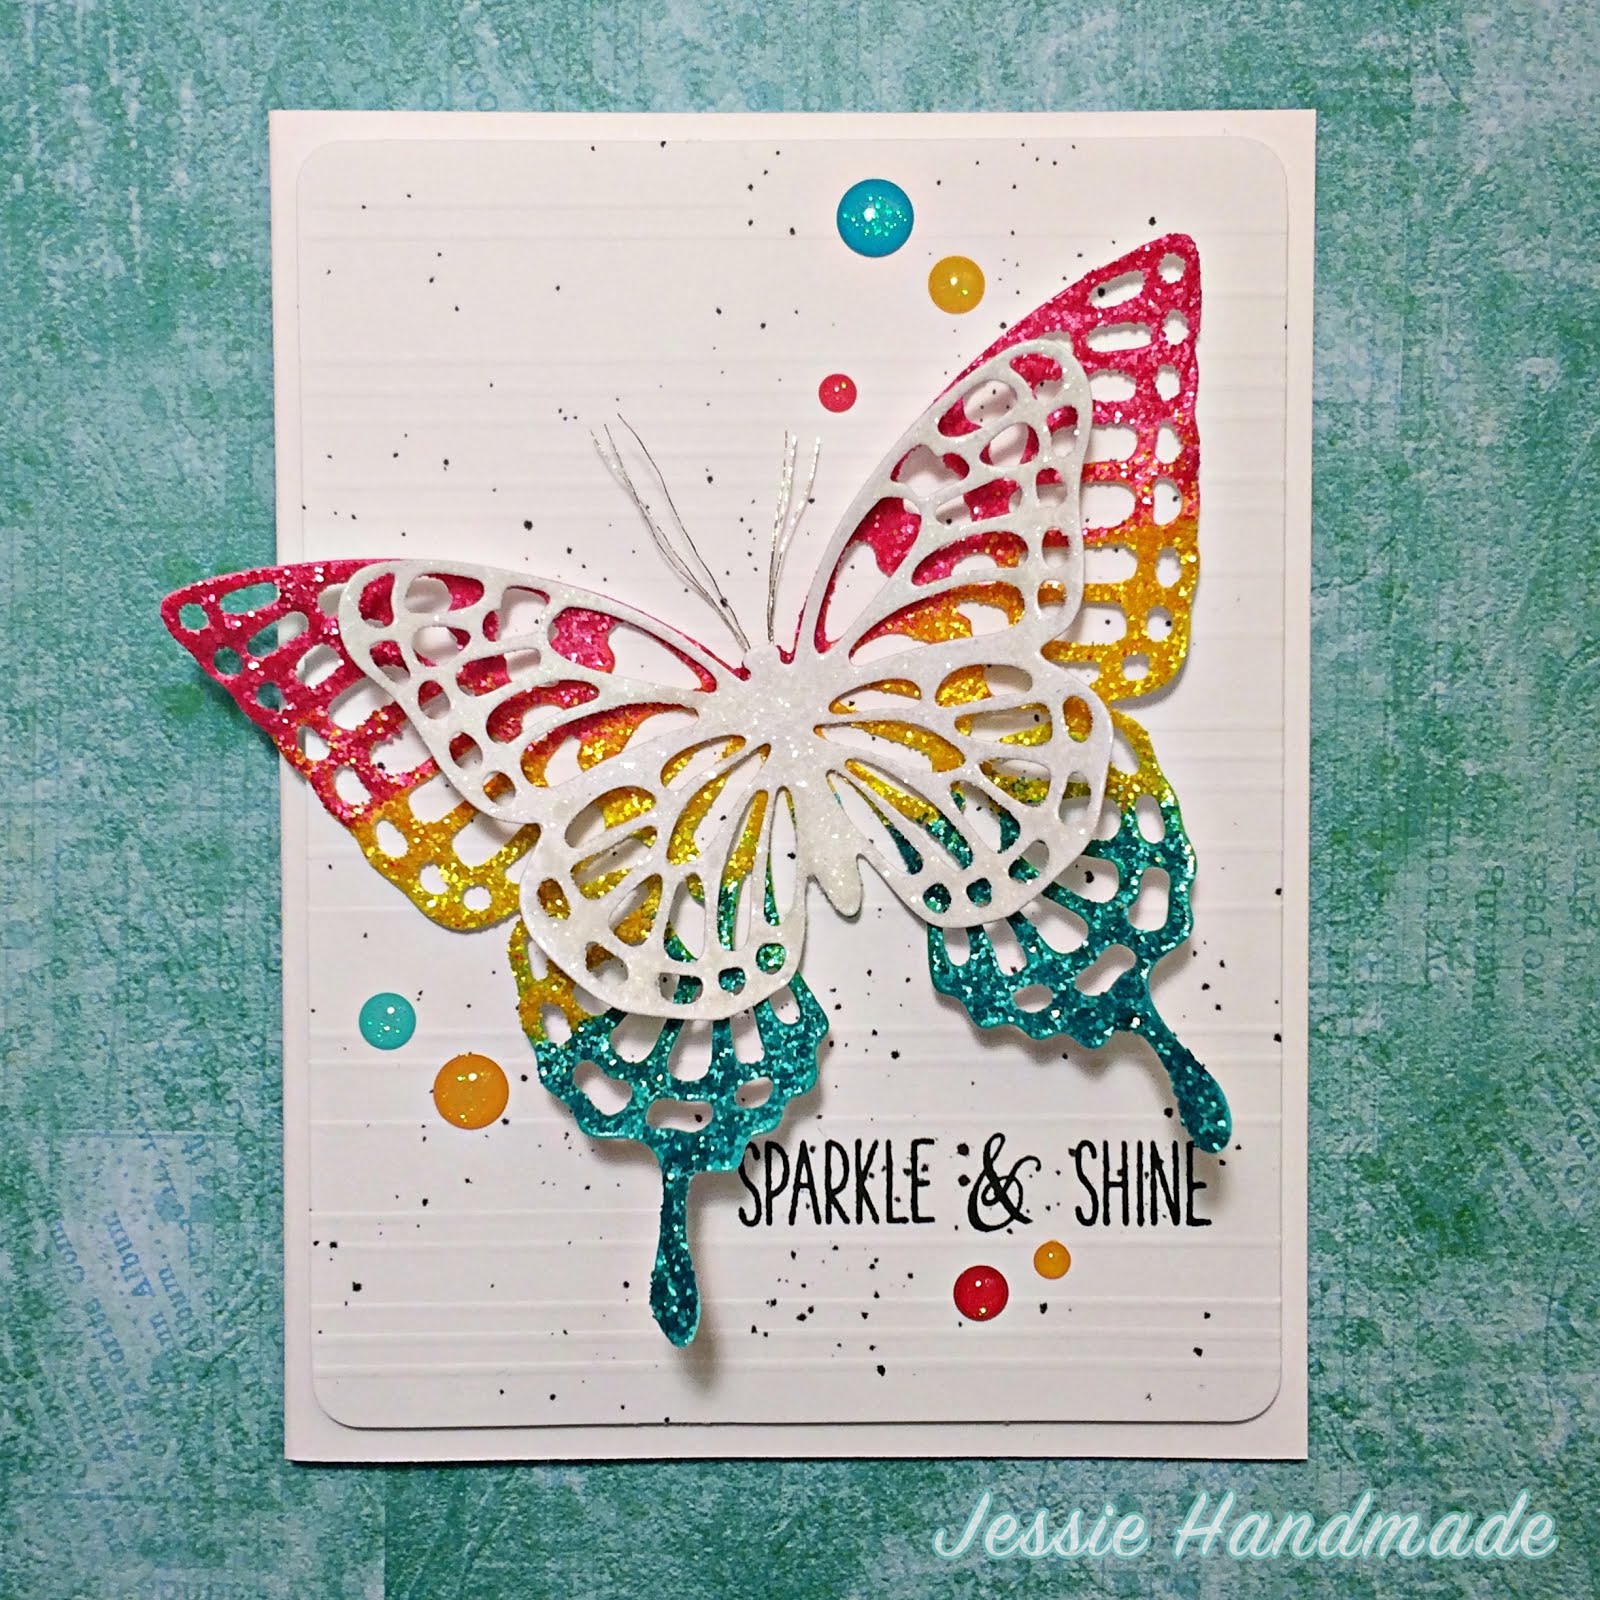
Butterfly Card with Tim Holtz Distress Glitter (White Background)


I've been obsessed with Stampin' Up's Butterflies Thinlits Dies lately! I ordered a handful of stamp sets but I didn't have time to play with them yet. These dies have kept me busy. This is one of my recent creations and I'm pretty pleased with it. I love how the simple, white background contrasts with this bright, glittery butterfly. Fun but not too busy!


Butterfly Die Cuts with Distress Glitter 
1. Die cut one large and one medium sized butterflies from white card stock using Butterflies Thinlits Dies
2. Apply Picked Raspberry, Mustard Seed, and Peacock Feathers distress inks on the large butterfly using mini round ink blending tools. 
3. Cover the top portion of the die cut with a thin coat of glossy accents/diamond glaze and apply a generous amount of Picked Raspberry distress glitter. (My Judikins Diamond Glaze dries fairly quickly, so I work with small areas each time instead of the entire top portion.) 
4. Repeat Step 3 with Mustard Seed and Peacock Feathers distress glitters. 
5. Now cover medium butterfly die cut with Clear Rock Candy distress glitter. 
6. Adhere the two butterflies together. Remember to add pieces of silver thread between the two die cuts! 
        
(Step 2&3) Click on the image to enlarge

7. Stamp the "Sparkle & Shine" sentiment from Winnie & Walter's My Precious stamp set. 
8. Score some lines and splatter some black ink to add a little more interest. 
9. Then add a few enamel dots to finish off the card!
  
(Step 9)


A closer look at the background. Playing with glitter can get a bit messy, but it's definitely worth it, don't you think? :)

Challenges entered: 
Powered by Blogger.